Chocolate Basics: Tempering & Viscosity Tutorials
Mastering the art of tempering and understanding viscosity are critical for creating exceptional chocolate products with a glossy finish, crisp snap, and optimal texture. At Chef Ceber, we offer detailed tutorials on various tempering methods and guidance on selecting the right chocolate fluidity, empowering you to achieve professional-quality results for moulded chocolates, enrobed confections, and more.
Why Temper Chocolate?
Tempering, or pre-crystallizing, chocolate is essential to form a stable crystalline structure in the cocoa butter, ensuring your chocolate hardens with a satin gloss, a satisfying hard snap, and proper contraction for easy unmoulding. Without proper tempering, chocolate may set slowly, develop dull spots, turn grey, or lack the desired texture, compromising both appearance and mouthfeel. Tempering is crucial for applications like moulding, enrobing, and creating hollow figures, though it may not be necessary for flavoring in mousses or creams where texture is less critical.
Tempering Methods
Using a Chocolate Tempering Machine
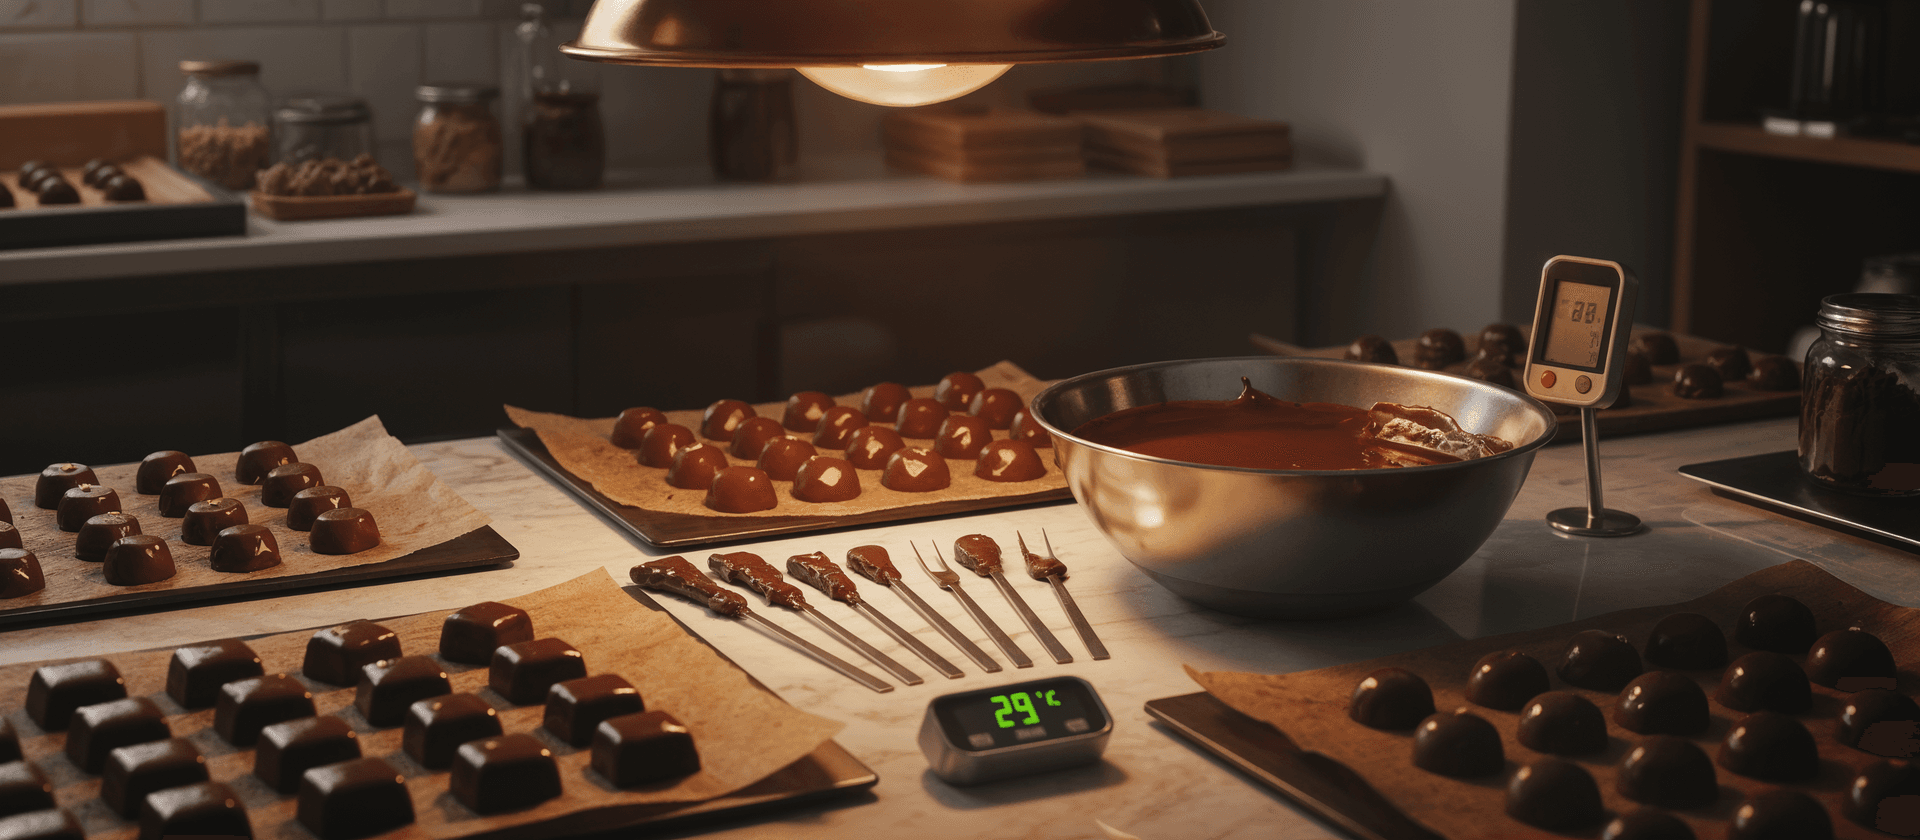
Ideal for large quantities, this method ensures consistent results through automated temperature control. Melt chocolate in the tempering machine at 45°C, then lower to 31°C for dark chocolate or 29°C for milk and white chocolate. Add 5% unmelted chocolate drops at room temperature (18–20°C) and allow the machine to mix them in, distributing stable crystals. If the drops melt too quickly, add more to cool the mixture. The chocolate will become smooth and slightly thicker, indicating it’s tempered and ready for use.
Tempering with Cocoa Butter
Using crystallized cocoa butter powder, such as Chef Ceber’s, simplifies the tempering process. Melt chocolate at 40–45°C, then cool to 34°C for dark or 33°C for milk, white, or colored chocolate. Add 1% cocoa butter powder (e.g., 10g per 1kg chocolate) and mix thoroughly to introduce stable crystals. Maintain the temperature at 34°C for dark or 33°C for others; for extended working times, hold at 31°C for dark or 29°C for milk and white. This method ensures stable crystallization with minimal effort.
Tempering with Chocolate Drops (Seeding Method)
The seeding method is quick, efficient, and ideal for consistent results. Melt chocolate at 45°C, then cool to 31°C for dark or 29°C for milk and white. Add 5% unmelted chocolate drops at 15–20°C and stir thoroughly to distribute stable beta V crystals. If the drops melt too quickly, add more to lower the temperature. The chocolate will thicken slightly, signaling it’s properly tempered and ready for moulding or enrobing.
Tempering in the Microwave
Perfect for small batches, this method requires no additional ingredients. Place chocolate drops in a microwave-safe plastic or glass bowl and heat at 800–1000W, stirring every 15–20 seconds to prevent burning. Stop when most of the chocolate is melted but some pieces remain. Remove from the microwave and stir until fully smooth and slightly thicker, ensuring even heat distribution and proper tempering.
Tabling Method for Tempering
The classic tabling method uses manual cooling on a marble surface for precise control. Melt chocolate to 45°C, then pour two-thirds onto a marble slab and spread back and forth with a spatula until it cools to 27°C for dark or 26°C for milk and white, thickening slightly. Return the cooled chocolate to the remaining melted chocolate and mix until uniform at 31°C for dark or 29°C for milk and white, creating stable crystals through movement and temperature control.
Remedying Crystallization Issues
How to Fix Undercrystallised Chocolate
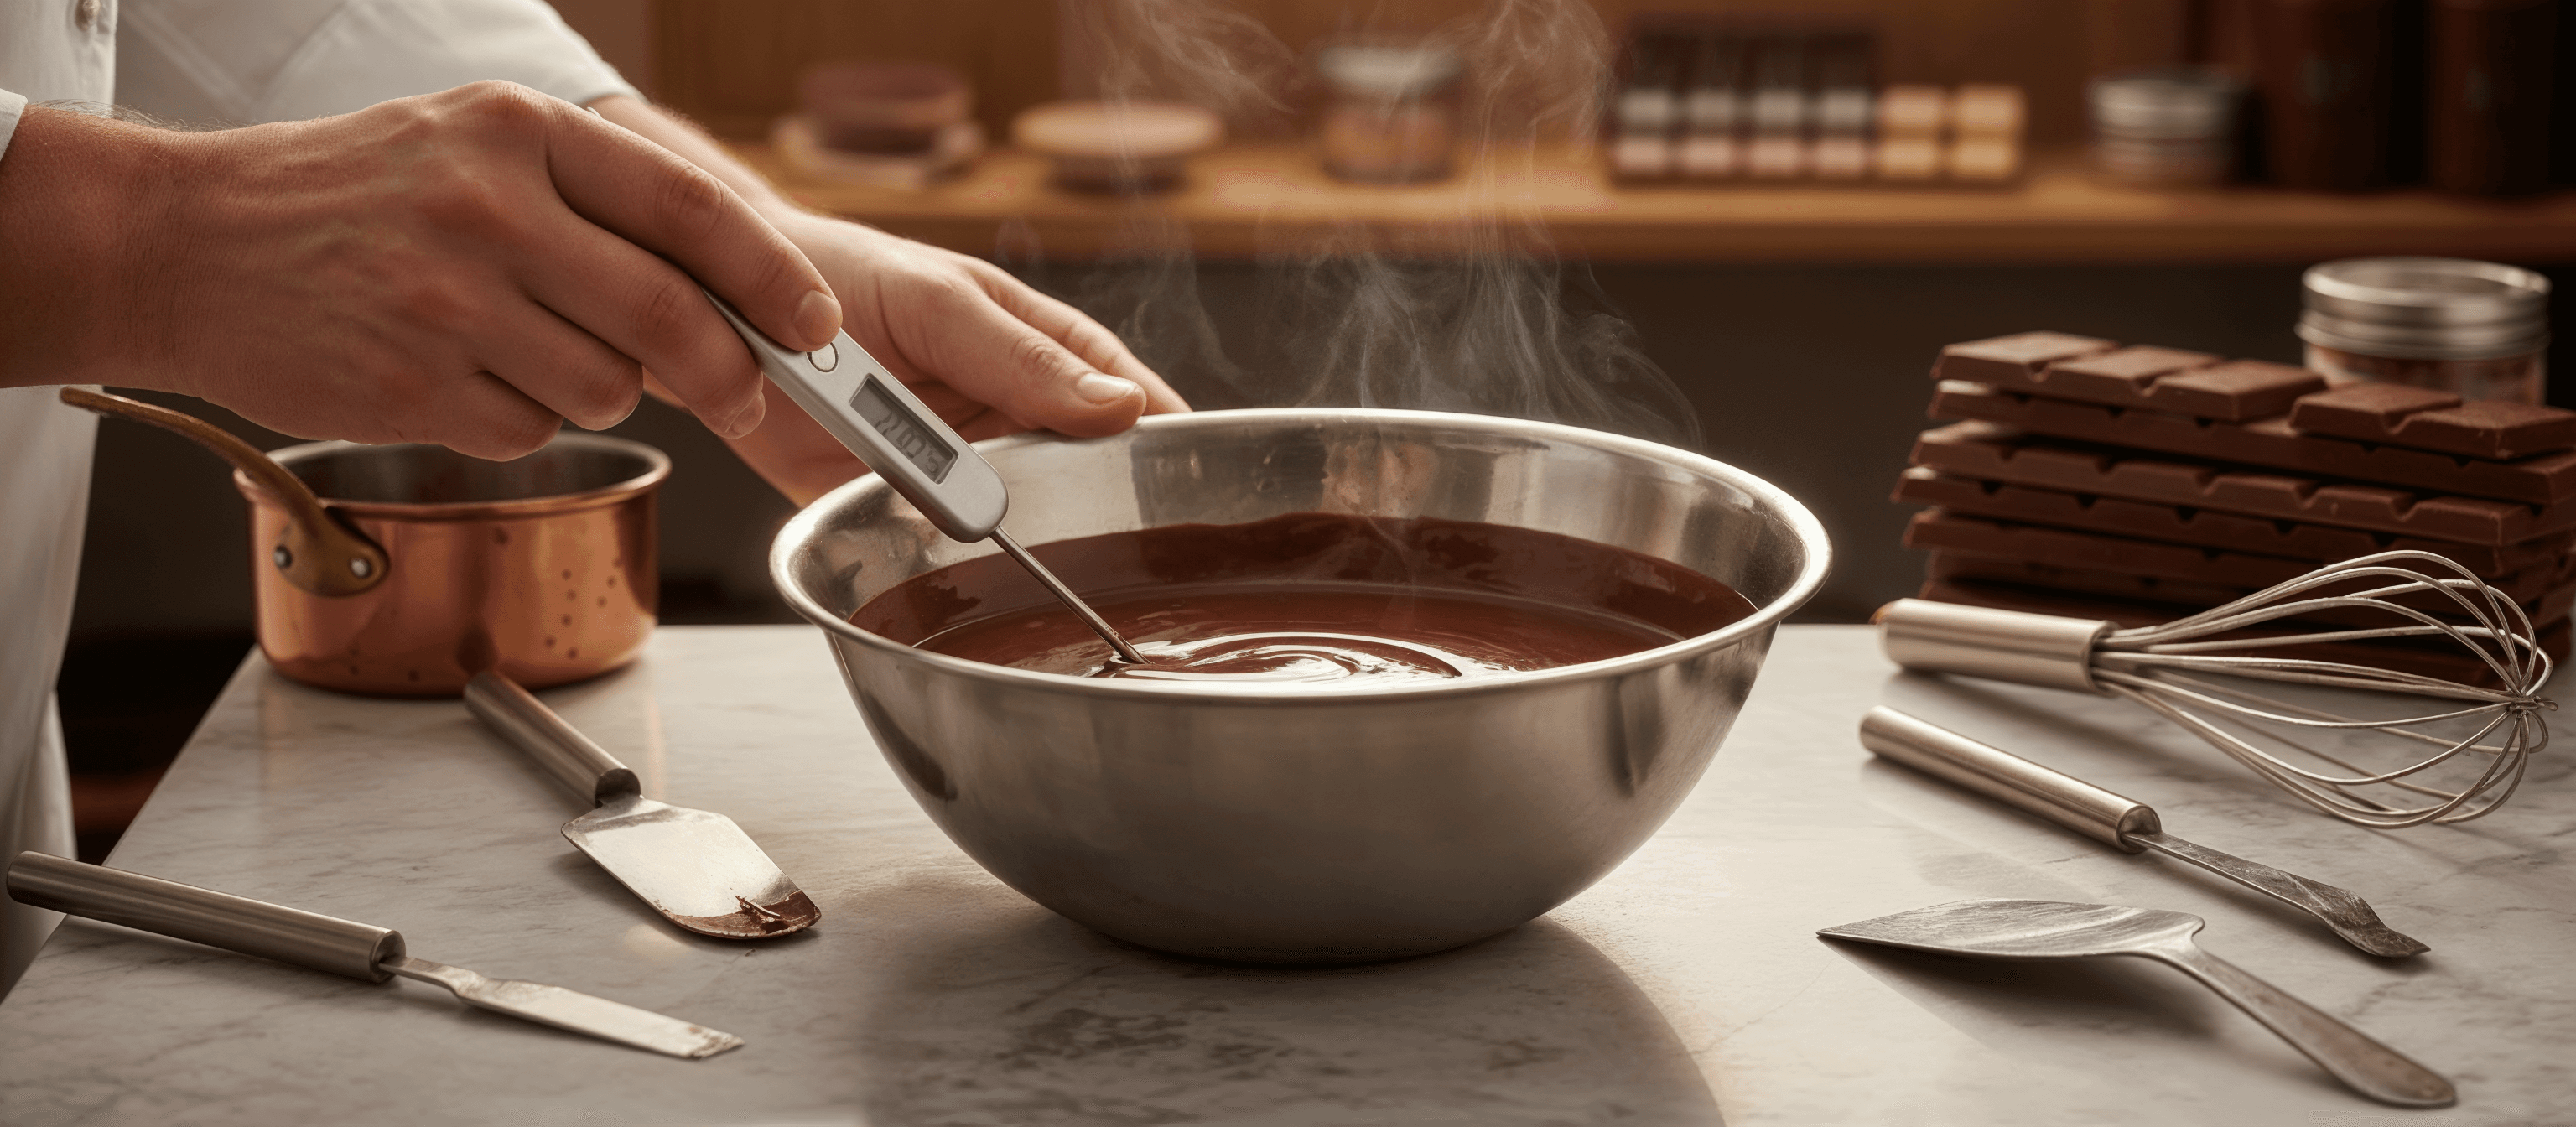
Undercrystallised chocolate sets slowly, exhibits dull spots, and is difficult to unmould. To remedy, introduce more stable crystals by mixing in tempered chocolate or cocoa butter powder, stirring until the mixture reaches the proper working temperature (31°C for dark, 29°C for milk and white). Test the temper by spreading a thin layer on parchment; it should set glossy within 3–5 minutes.
How to Fix Overcrystallised Chocolate
Overcrystallised chocolate results in thick shells, air pockets, and dull spots. To correct, gently warm the chocolate to melt excess crystals, then add a small amount of untempered melted chocolate to thin the mixture. Stir until smooth at the working temperature (31°C for dark, 29°C for milk and white). Test for proper temper to ensure a balanced crystal structure.
Choosing the Right Viscosity
Selecting the appropriate chocolate fluidity is key to achieving the desired texture and appearance for your application. Higher fluidity chocolate flows more easily, creating thinner, crunchier shells ideal for intricate moulds, though it may require multiple fillings to achieve thickness. Lower fluidity chocolate is better suited for large moulds, allowing a single pour to form thicker, more robust shells. Chef Ceber offers chocolates in various fluidity levels—check packaging for specific recommendations to ensure optimal texture and snap for your project.
Tips for Tempering and Viscosity
- Maintain precise temperatures throughout the tempering process to ensure stable crystal formation and consistent results.
- Stir constantly during tempering to evenly distribute heat and crystals, preventing hot spots and ensuring uniform texture.
- Choose chocolate fluidity based on mould size and detail complexity to achieve the desired shell thickness and texture.
- Test the temper by spreading a thin layer of chocolate on parchment; it should set with a glossy finish within a few minutes.
- Use high-quality chocolate, such as Chef Ceber’s, to guarantee consistent tempering outcomes and superior flavor and texture.
Frequently Asked Questions
Why should I temper chocolate?
Tempering stabilizes cocoa butter crystals, ensuring a glossy finish, hard snap, and easy unmoulding for professional-quality chocolates.
What’s the easiest method for beginners?
The seeding method with chocolate drops is fast, simple, and reliable, making it ideal for those new to tempering.
How do I choose fluidity?
Select higher fluidity for detailed, thin shells and lower fluidity for large, thick shells, based on your mould and application needs.
Can I fix crystallization issues?
Yes, add tempered chocolate to fix undercrystallised chocolate or gently warm and thin overcrystallised chocolate to restore proper temper.