Moulded Chocolates: Complete Guide from Chocolate Selection to Finishing
Crafting perfect moulded chocolates is a rewarding process that combines precision, creativity, and quality ingredients to produce professional-grade pralines and bonbons. At Chef Ceber, we provide comprehensive tutorials to guide both home enthusiasts and professional chocolatiers through every step, from selecting the right chocolate to filling, sealing, and decorating, ensuring glossy shells, seamless seals, and stunning finishes that delight the senses.
Choosing the Right Chocolate
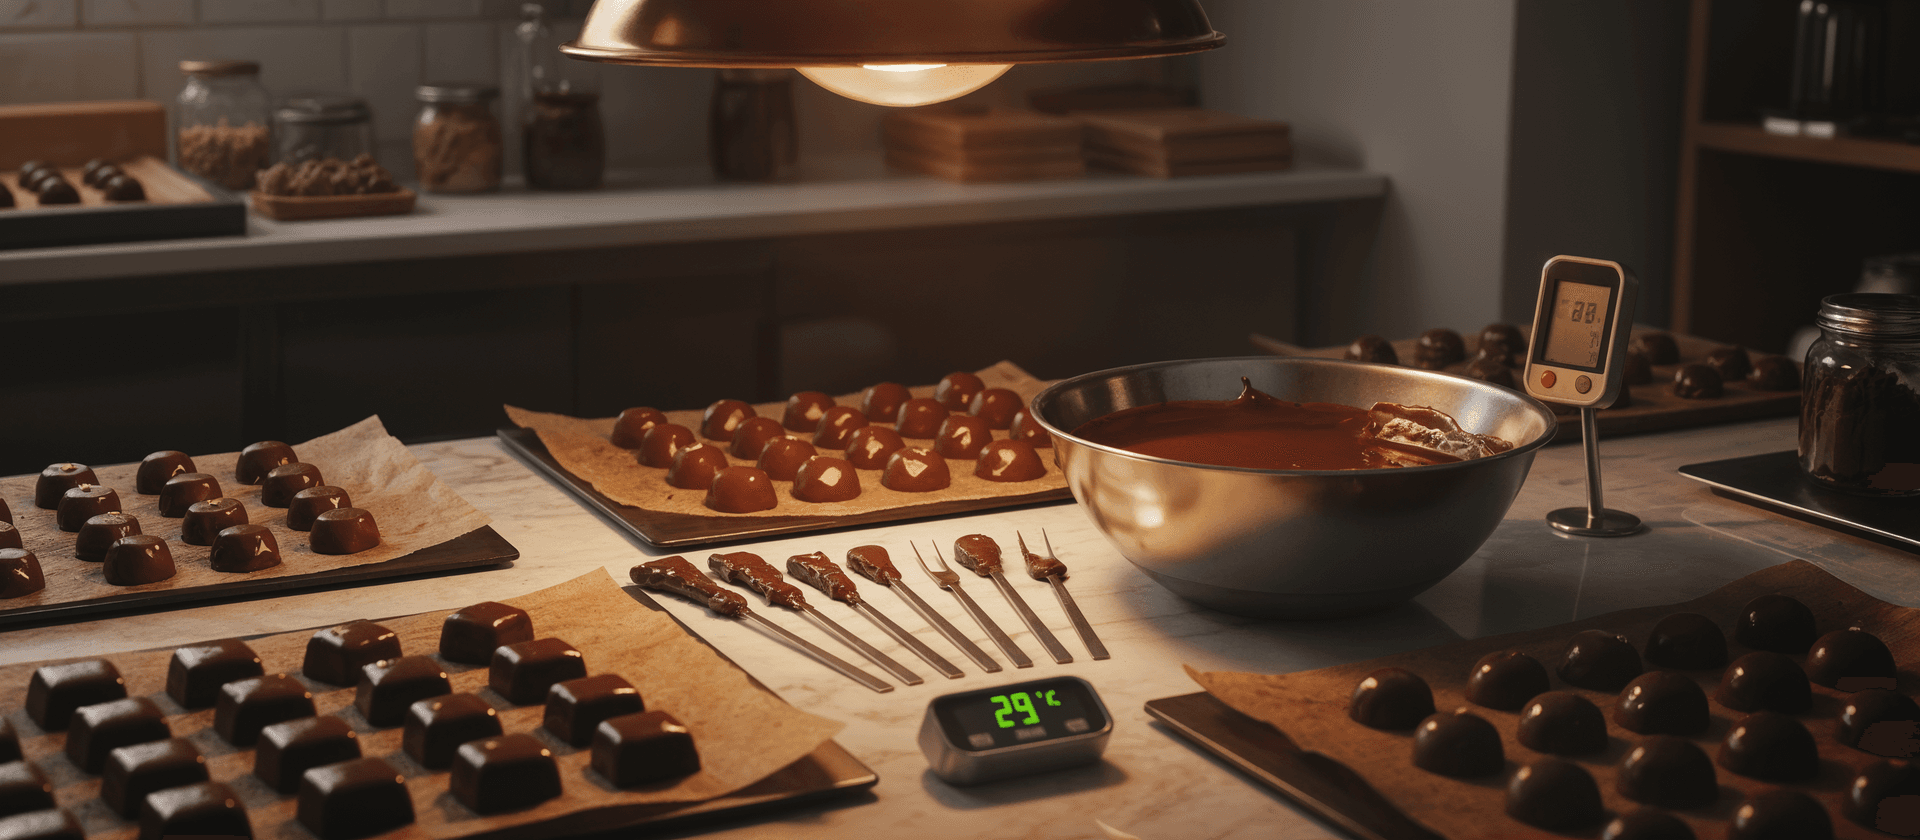
The foundation of exceptional moulded chocolates lies in selecting the right chocolate, which impacts both flavor and workability. Opt for high-quality couverture chocolate with balanced cocoa butter content to ensure smooth flow and a glossy finish. For dark chocolates, BARLO D590 (70% cocoa) delivers an intense, nutty flavor perfect for bold pralines. For milk chocolates, BARLO M395 (35% cocoa) offers creamy richness ideal for nut or caramel fillings. For white chocolates, BARLO W3434 (34% cocoa butter) provides a velvety vanilla profile, excellent for fruit-infused centers. Proper tempering is essential—aim for a higher fluidity for intricate mould designs and a lower fluidity for thicker shells, maintaining dark chocolate at 31°C and milk or white at 29°C for optimal viscosity and shine.
What Makes Moulded Chocolates Perfect
A perfect moulded praline is defined by a thin, uniform chocolate shell with a glossy sheen and a crisp snap when bitten, free of air bubbles or leaks. The shell should contract slightly from the mould for easy release, showcasing sharp details and a smooth surface. Inside, fillings should be perfectly centered, preventing seepage, with flavors that harmonize with the shell without being overshadowed. These chocolates maintain their shape during storage, resist bloom, and offer a delightful melt-in-the-mouth experience, balancing texture and taste for a professional-quality result.
How to Make Chocolates in a Mould
Creating moulded chocolates is a precise process that yields stunning results with the right technique. Start by tempering your chocolate to 31°C for dark or 29°C for milk and white varieties. Warm polycarbonate moulds to 28–30°C by rinsing with hot water and drying thoroughly to prevent thermal shock. Fill each mould cavity completely with tempered chocolate, then tap the mould firmly on the counter to release air bubbles. Invert the mould over a bowl to drain excess chocolate, creating thin, even shells. Scrape the bottom of the mould flat with a bench scraper, then refrigerate for 10–15 minutes to set the shells. Unmould by gently flexing the mould, revealing perfectly formed chocolate bases ready for filling.
Filling Moulded Chocolates
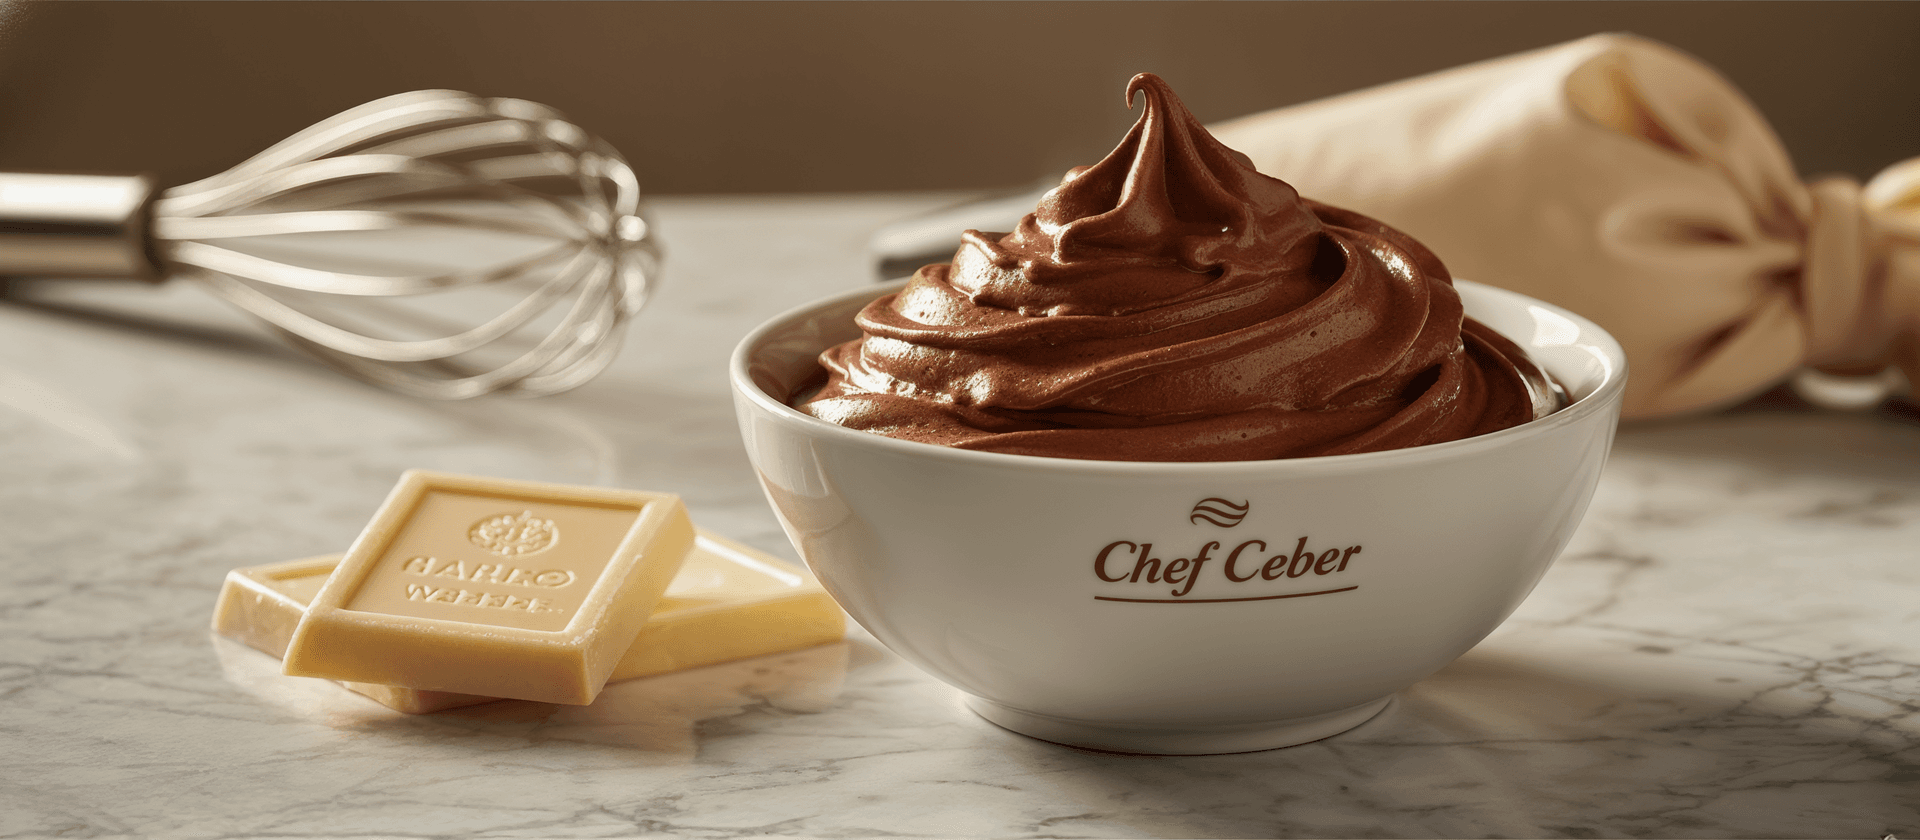
Filling moulded chocolates requires careful attention to ensure a balanced and stable interior. Prepare fillings like ganache, praliné, or fruit pastes at room temperature to avoid melting the chocolate shell. Using a piping bag, fill each cavity to 80–90% capacity, leaving sufficient space for sealing to prevent leaks. For ganache, whip to a pipeable consistency for smooth application; for nut-based fillings, ensure even distribution to maintain texture. Avoid overfilling, and tap the mould gently to settle the filling evenly. If using soft fillings, chill briefly in the refrigerator to firm them up without compromising the shell’s integrity.
Sealing Your Moulded Chocolates
A seamless seal is critical to prevent leaks and maintain the structural integrity of moulded chocolates. Re-temper reserved chocolate to the appropriate temperature (31°C for dark, 29°C for milk or white) and pour a thin layer over the filled cavities to cap them. Tap the mould vigorously to eliminate air pockets and ensure complete coverage. Scrape off excess chocolate with a bench scraper to create a flat, smooth back, then refrigerate for 20–30 minutes to set the seal. For added strength, apply a second thin layer if necessary, ensuring a robust bond that keeps fillings securely enclosed and preserves the chocolate’s shape and appearance.
Decorating with Creative Powder
Elevate your moulded chocolates with the subtle elegance of creative powder for a sophisticated finish. After unmoulding, lightly dust the chocolates with cocoa or powdered sugar using a fine sieve to achieve a matte effect that enhances visual appeal without overpowering the chocolate’s flavor. For added creativity, apply powder through stencils to create intricate patterns, adding texture and a professional touch that makes your chocolates stand out.
Applying Coloured Cocoa Butter
Personalize your moulded chocolates with vibrant colored cocoa butter for artistic flair. Temper the colored cocoa butter to 30–32°C, then brush or airbrush thin layers into mould cavities before adding the tempered chocolate to create internal designs that reveal themselves upon biting. For external decoration, unmould the chocolates and use a fine brush for detailed accents or an airbrush for even, all-over coverage. This technique adds striking visual elements, transforming your chocolates into edible works of art.
Tips for Perfect Moulded Chocolates
- Use polycarbonate moulds for their ability to produce glossy, detailed chocolates, and clean and polish them regularly to maintain clarity and shine.
- Temper chocolate accurately and work in a cool, low-humidity environment to prevent bloom and ensure stable crystal formation.
- Tap moulds frequently during filling and sealing to release air bubbles, ensuring even shells and smooth surfaces.
- Match filling flavors to the shell type for a harmonious taste—pair dark chocolate with nuts, milk with caramel, or white with fruit for balanced profiles.
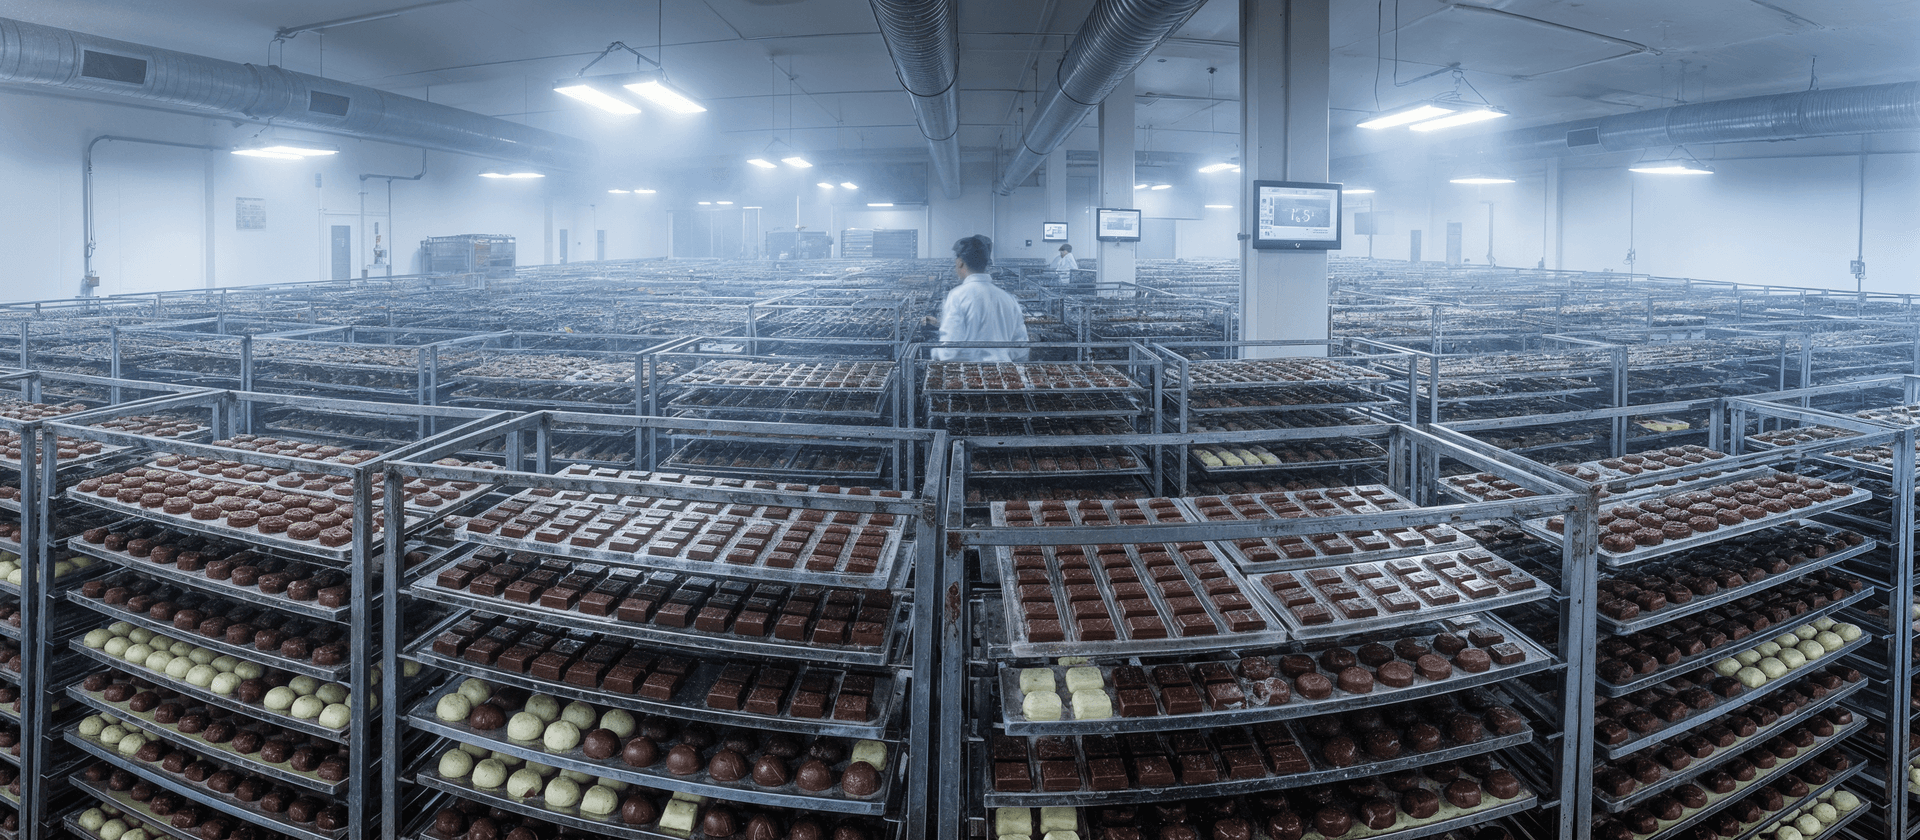
- Store finished chocolates in airtight containers at 15–18°C to preserve freshness, gloss, and flavor, protecting them from humidity and odor absorption.
Frequently Asked Questions
What chocolate is best for moulding?
Couverture chocolates like BARLO D590 for dark, M395 for milk, and W3434 for white are ideal due to their balanced fluidity and cocoa butter content, ensuring smooth flow and glossy results.
How do I avoid air bubbles?
Tap the mould firmly after filling with chocolate and ensure the chocolate is properly tempered with the correct viscosity to minimize air bubbles and achieve smooth shells.
Why do my chocolates stick to the mould?
Sticking is often caused by improper tempering or dirty moulds; ensure stable crystal formation through accurate tempering and thoroughly clean moulds before use.
Can I reuse leftover chocolate?
Yes, leftover chocolate can be reused, but it must be re-tempered to restore its quality and ensure proper flow and shine for subsequent moulding.