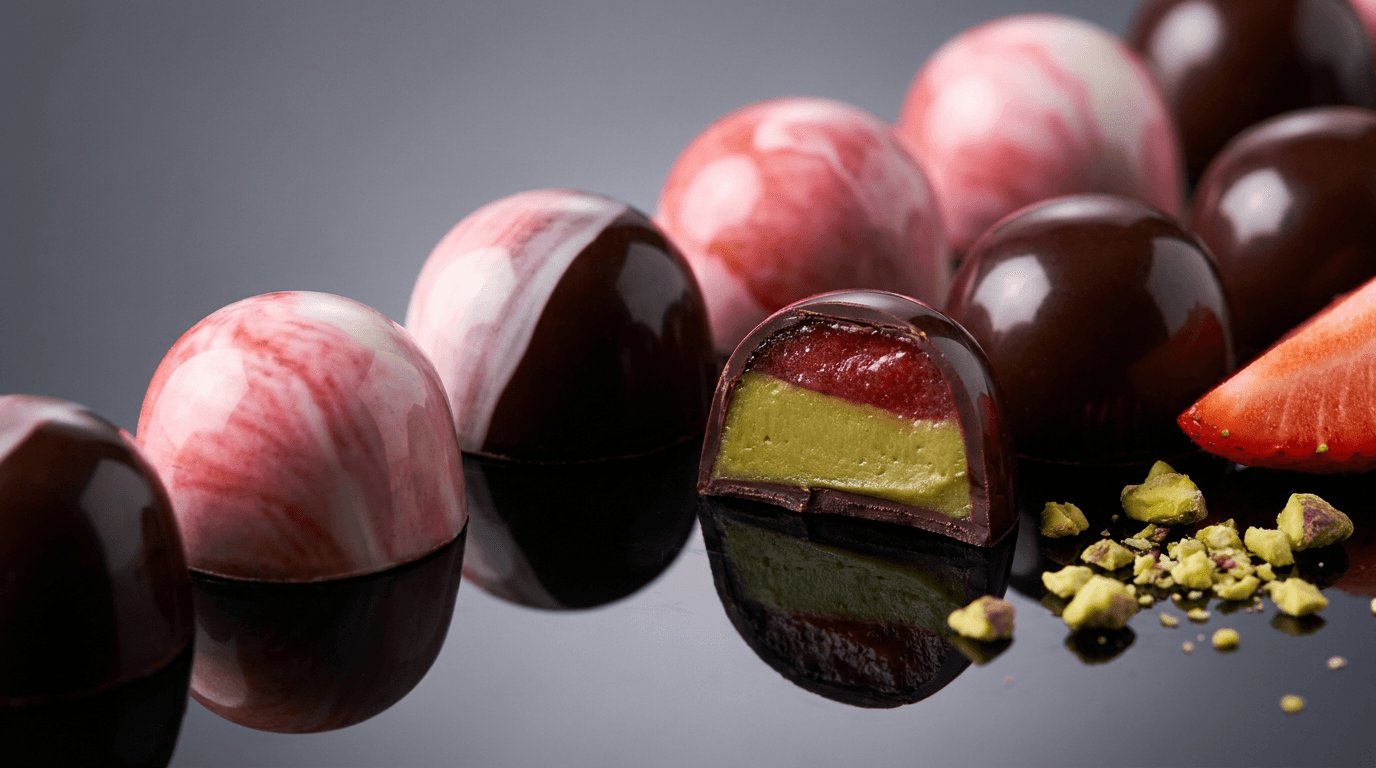
Moulded bonbons are the ultimate showcase for couverture chocolate: paper-thin tempered shells, smooth centres, and a glossy mirror finish straight from the mould. With the right temper and a few decoration pieces, they instantly look boutique-quality.
Ingredients (Makes ~24 Bonbons)
• 300 g W34 White Couverture 34%
https://chefceber.com/products/couverture-chocolate
(for the shells)
• 80 g Chef Ceber 30% Pistachio Cream
https://chefceber.com/products/pistachio-cream
• 100 g M395 Milk Couverture
https://chefceber.com/products/couverture-chocolate
• 60 ml heavy cream
• 1 tbsp Strawberry Gourmet Sauce
https://chefceber.com/products/gourmet-sauce
(for the strawberry ganache)
• Decoration Chocolate Pieces
https://chefceber.com/products/decoration-chocolates
(for finishing)
Method
1. Temper the couverture
Temper the white couverture until smooth and glossy. For a decorative effect, flick coloured cocoa butter into a polished polycarbonate mould before filling.
2. Create the shells
Fill each mould cavity completely with tempered chocolate and tap gently to release air bubbles. Invert the mould to pour out the excess chocolate, leaving behind a thin shell. Scrape the surface clean and allow the shells to set upside down.
3. Prepare the fillings
Soften the pistachio cream until pipeable. For the strawberry ganache, pour hot cream over the milk couverture and stir until smooth, then fold in the strawberry gourmet sauce. Allow the ganache to cool to a piping consistency.
4. Fill the bonbons
Pipe the fillings into the chocolate shells, leaving approximately 2 mm of space at the top. Let the fillings rest for 1 hour so they firm slightly before sealing.
5. Cap the moulds
Spread tempered white couverture across the mould, scrape perfectly level, and allow the chocolate to fully set.
6. Unmould and finish
Tap the mould firmly to release the bonbons. Finish each one with a small decoration chocolate piece for a professional presentation.
Chef’s Tip
A cool, dry room between 18–20°C and properly tempered chocolate are the keys to achieving the signature shine and crisp snap of professional bonbons.